-p-130x130q80.png)
For a company to benefit from the data during decision-making, the data must be processed and analyzed. Nevertheless, this process requires the involvement of several people, including Data Engineers, Data Scientists, and Data Analysts. By bringing software development best practices to the data development industry, tools like Dataform enable data teams to collaborate and also connect to remote development environments like GitHub.
Mastery of version control tools, therefore, is an essential skill for data professionals. This article will explain why Git and GitHub are helpful and how they work. The differences between these two tools will also be discussed.
What are Git and GitHub?
Let's begin by going back and reflecting upon the history of Git and GitHub. As with every extraordinary revolution, Git came about as a solution to a problem. When multiple developers worked on the same codebase, it was difficult to keep track of changes. This problem was solved in 2005 when Git was developed, allowing developers to track changes easily, undo mistakes, and collaborate on projects.
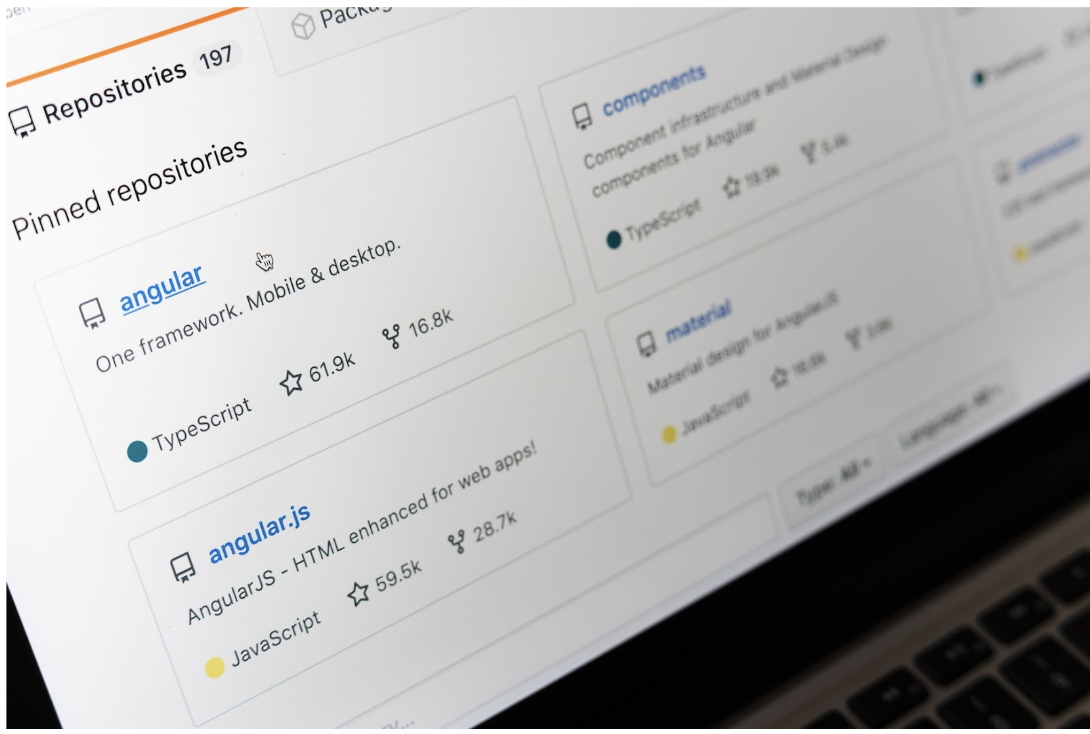
As for GitHub, it was founded in 2008 and quickly became the world's most popular code hosting site. Microsoft acquired it in 2018.
Project management tools such as Git and GitHub are robust version control solutions that allow teams to collaborate on data projects. Git ensures that everyone works on the same code version, while GitHub offers an accessible project management and communication platform. The purpose of these tools is to allow the same information to be accessed by different people working on the same project. Collaborators can therefore see what changes have been made to the various versions of the project, what tasks have been completed, and what remains to be done.
Working with Git
Let’s get started with exploring the basic commands of Git.
Installing Git
Git can be easily installed by downloading the latest version from the official website.
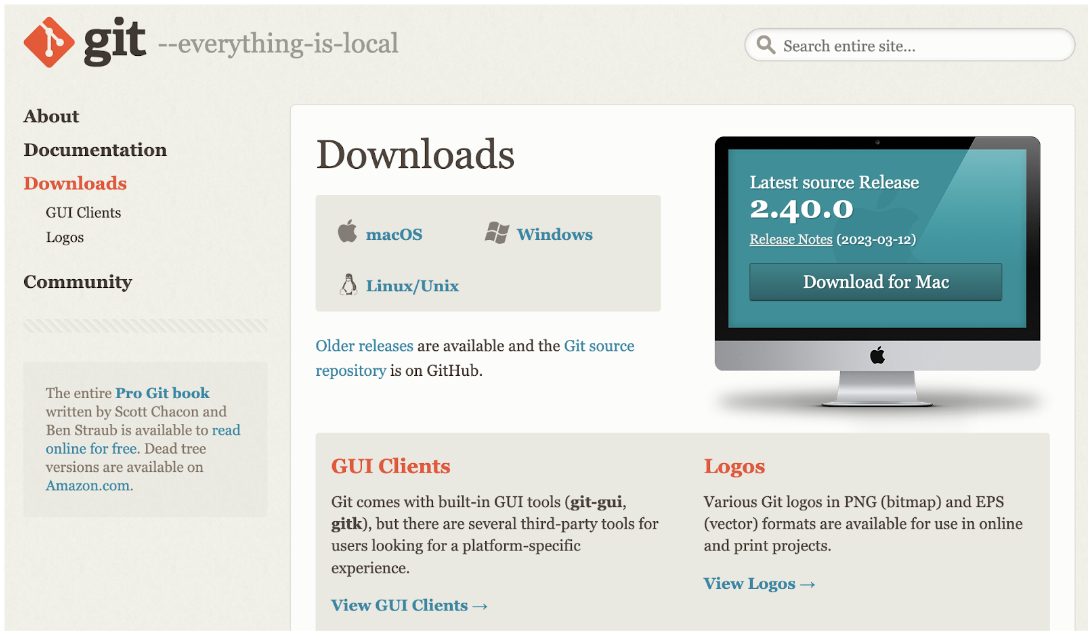
You will need to follow the instructions for installation depending on the operating system you are using. Once the installation is done, you can verify that the installation was successful by typing the git --version in a terminal.
git --version
Setting up Git
The first thing you need to do after installing Git makes a small setting. To start, you need a username and email address. To accomplish this, you need to run the git config command as it allows you to modify Git configuration variables.
With the --global option, you can customize the default options to use the same username and email for any Git project.
Let's start with the following commands:
git config --global user.name "<Your Name>"
git config --global user.email <Your email>
The following command will let you know if the changes have been made correctly.
git config --list
Start a Git repository
Let's now make a folder for the project we will work on.
mkdir my_project
To start a Git deposit, you can either import an existing project or directory into Git or clone an existing Git repository on a different server. Let's see these two methods one by one.
Initialization of a Git repository in an existing directory
To import an existing project into git, position yourself in the project directory:
cd my_project
And then type:
git init
Initializing a Git repository will create a directory named .git that contains all the files necessary for the repository.
To verify that the .git folder is there, type the following command:
ls -al
Clone an existing repository
If you want a copy of the project instead, use git clone. If the repository is on another server, the following command must be executed:
git clone <repository>
And if the repository is on your local server, you must type this command:
git clone <path>
When you enter the git clone command, Git will have a complete copy of the project data, including all the file versions.
Save changes to the repository
When you make changes to your repository, you will validate these changes.
You should know that each file in a project can be in one of two states: tracked or untracked.
A file has a tracked state when saved in the database. And any unsaved file is untracked. A tracked file can have three states: Modified (modified); Indexed (staged); Validated (committed).
Git validates all files in a project when starting a Git repository from a local repository. A file is valid when saved in the local database.
In the meantime, while working on the project, you can modify some files or add new ones. Git will consider modified files as modified and newly created files as untracked. When the modified or added file is part of the Git repository, it is indexed.
Adding New Files
Imagine that you wrote a Python code and saved it to the my_project folder you just created as test.py. By typing ls in the terminal, you can check if the file is in the directory. Once you confirm that the file is in the directory, you can check the file status using git status.
git status
To add the file to the repository, use the command git add. You can add files to the index using git add <file> command. For example, to add test.py to the local repository, you must type:
git add test.py
If you made changes to many files and wanted to add them all at once, you can use either of the following commands.
git add --all
git add .
If you check the status of your repository, you can see the newly added files. Then you can commit the file using git commit. When you commit, please include a message describing the changes made.
git commit -m "message"
To look at the commit history for the current repository, you can use the following command:
git log
Working with Git branches
Branches are separate versions of your main repository that are maintained independently of one another. By branching, you can work on different parts of a project without affecting the main branch. Now let's create your first branch using the following command:
git branch my_new_branch
Alongside master, you will find your newly created branch. So far you have worked on the master branch. But if you want to switch to your branch, type the following command:
git checkout my_new_branch
Alternatively you can use the command git checkout -b my_new_branch to create and switch to a new branch immediately.
You are now in the branch you created. Suppose you wrote some notes and saved them in your working directory as test.txt. As you can see from my_new_branch's status, test.txt is sitting under untracked files since it is not yet added and committed.
git add test.txt
git commit -m "Added the test file"
You now have one more file on your my_new_branch than you did on the master. You need to merge the newly created text file on my_new_branch into the master. This is so that the changes you made to the branch become part of the master.
git checkout master
git merge my_new_branch
Since master and my_new_branch have now become identical, you can remove my_new_branch using the command below.
git branch -d my_new_branch
Connect Git with GitHub
To get started with Git and GitHub, you will first need to create an account at github.com. After that, sign up and create your first GitHub repository. Make sure you use the same e-mail address you used in the Git configuration.
On GitHub, you'll see the same process of adding and committing files as you do in a Git repository launched on your computer. However, you can use GitHub to push your modifications to the GitHub hosting service. This makes it possible for others to collaborate on the same project. They can pull changes from GitHub to their computers, and push their changes to GitHub.
Below I show the commands you will need to use Git on GitHub. As you have set up a Git repository on your machine, let us see how to push that to GitHub:
git remote add origin <url>
The above command specifies that you are adding a remote repository, with the specified URL, as an origin to your local Git repo. With the following command, you can push your master branch to the origin URL, and set it as the default remote branch:
git push --set -upstream origin master
If you go back to GitHub you will notice that all you have done so far has been pushed to GitHub.
In case another team member is working on your repository, you can retrieve the latest changes by running the following command:
git pull
Conclusion
Congratulations! As you now have an understanding of Git and GitHub, I encourage you to explore further! As they say, practice makes perfect, so try out Git commands to get familiar with them. Listed below are some important commands with short descriptions.
Further Links
Check out our LinkedIn account, to get insights into our daily working life and get important updates about BigQuery, Data Studio, and marketing analytics
We also started with our own YouTube channel. We talk about important DWH, BigQuery, Data Studio, and many more topics. Check out the channel here.
If you want to learn more about how to use Google Data Studio and take it to the next level in combination with BigQuery, check out our Udemy course here.
If you are looking for help setting up a modern and cost-efficient data warehouse or analytical dashboard, send us an email at hello@datadice.io and we will schedule a call.


.jpeg)